| Creating Recessed Gear
Wells and Flush Gear Doors in FSDS - Part 2 |
Part 1 of this tutorial covers creating recessed
landing gear wells with perfect fitting gear doors.
Part 2 cover animating the gear doors from
the retracted position.
Please see Part 1 for
the beginning of this tutorial.
1) Be sure that doors are tagged as Gear in FSDS. Then
compile the model in FSDS.
Then go to File > Aircraft Animator to launch Aircraft Animator.
It is necessary to separate out parts that have different pivot points. Select the small gear door, right click on it and select Move to
Group > New group.
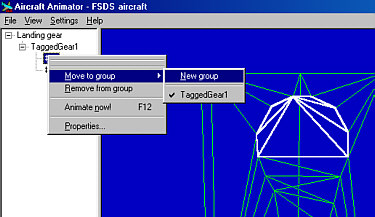
Note: You can rename the groups by click once on the title of the group,
waiting a few seconds and clicking once again. then you can retype the new name
for the group.
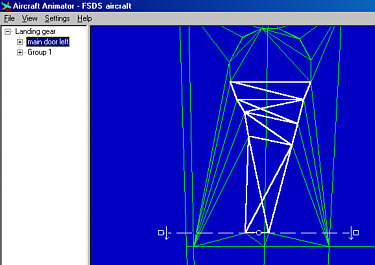
2) Select the first door you wish to animate.
Move the pivot point to the desired location.
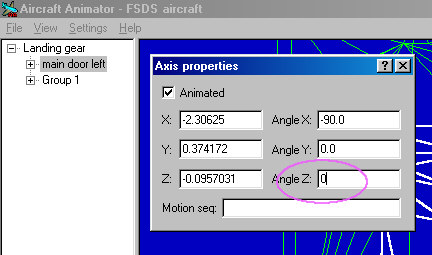
3) To get the gear to start for the retracted
position, right click the part name and select Properties.
Change the Angle Z to 0. this will start the gear motion in the up position.
Note: If the door swings in the wrong direction, right click on the part
name again and choose Reverse Axis (or hit the F6 key)
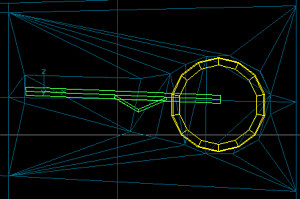
4) You can now create the rest of the landing
gear parts, tag them as landing gear, assign them to the correct groups in
Aircraft Animator and animate accordingly.
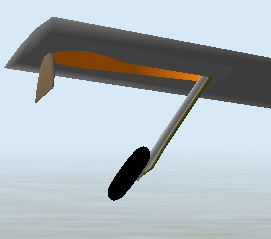
Finished model in action.
Important: You most likely need to
assign motion sequences to the various gear parts in order to get the swing
angle correct and to get the timing correct ion door opening and closing.
I.e. for the secondary little door, try a motion sequence of:
0-25:+4;25-75:0;75-100:-4
This will open the door fully in the first 25%
of the gear timing sequence. It will then remain open for the next 50% of the
gear timing sequence. it will then close for the last 25% of the gear timing
sequence.
©2000 by David Eckert